 Contact Us


Step-by-Step Guide to Build a Little League Pitching Mound Like a Pro
Contents
Click to Jump to Section
If you’re tasked with the challenge of how to build a little league pitching mound, you’ve come to the right place. This article cuts through the confusion with a clear, actionable, step-by-step guide. From securing the correct measurements for height and diameter to selecting the proper materials and ensuring your mound’s orientation protects young players from the glaring sun, we cover it all. Buckle up for a no-fluff guide to building a safe and regulation-compliant mound that will be the pride of your little league field.
Key Takeaways
-
Adherence to Little League mound specifications, including dimensions and orientation, is crucial for player safety and maintaining the integrity of the game.
-
Building a Little League pitcher’s mound involves careful preparation of the location and groundwork, selection of appropriate construction materials, and precise shaping of the mound’s features like the plateau and slope.
-
Ongoing mound maintenance, including moisture management and repair of wear and tear, is essential to ensure the safety and longevity of the pitching surface.
Recommended Tools for the Job
-
Tape Measure
-
Large Nail or Spike
-
Frame for Plateau Reconstruction
-
Square-faced Shovel or Spade
-
Pick
-
Landscape Rake
-
Two-foot Carpenter's Level and Carpenter's Square
-
1" x 4" (4' long)
-
2" x 4" (10' long)
-
Mound Slope Board
-
Wheelbarrow
-
Mound Building Clay
-
Specialty Packing Clay
-
Tamp or Vibrating Asphalt Compactor
-
Four-Sided Rubber
Understanding Little League Mound Requirements
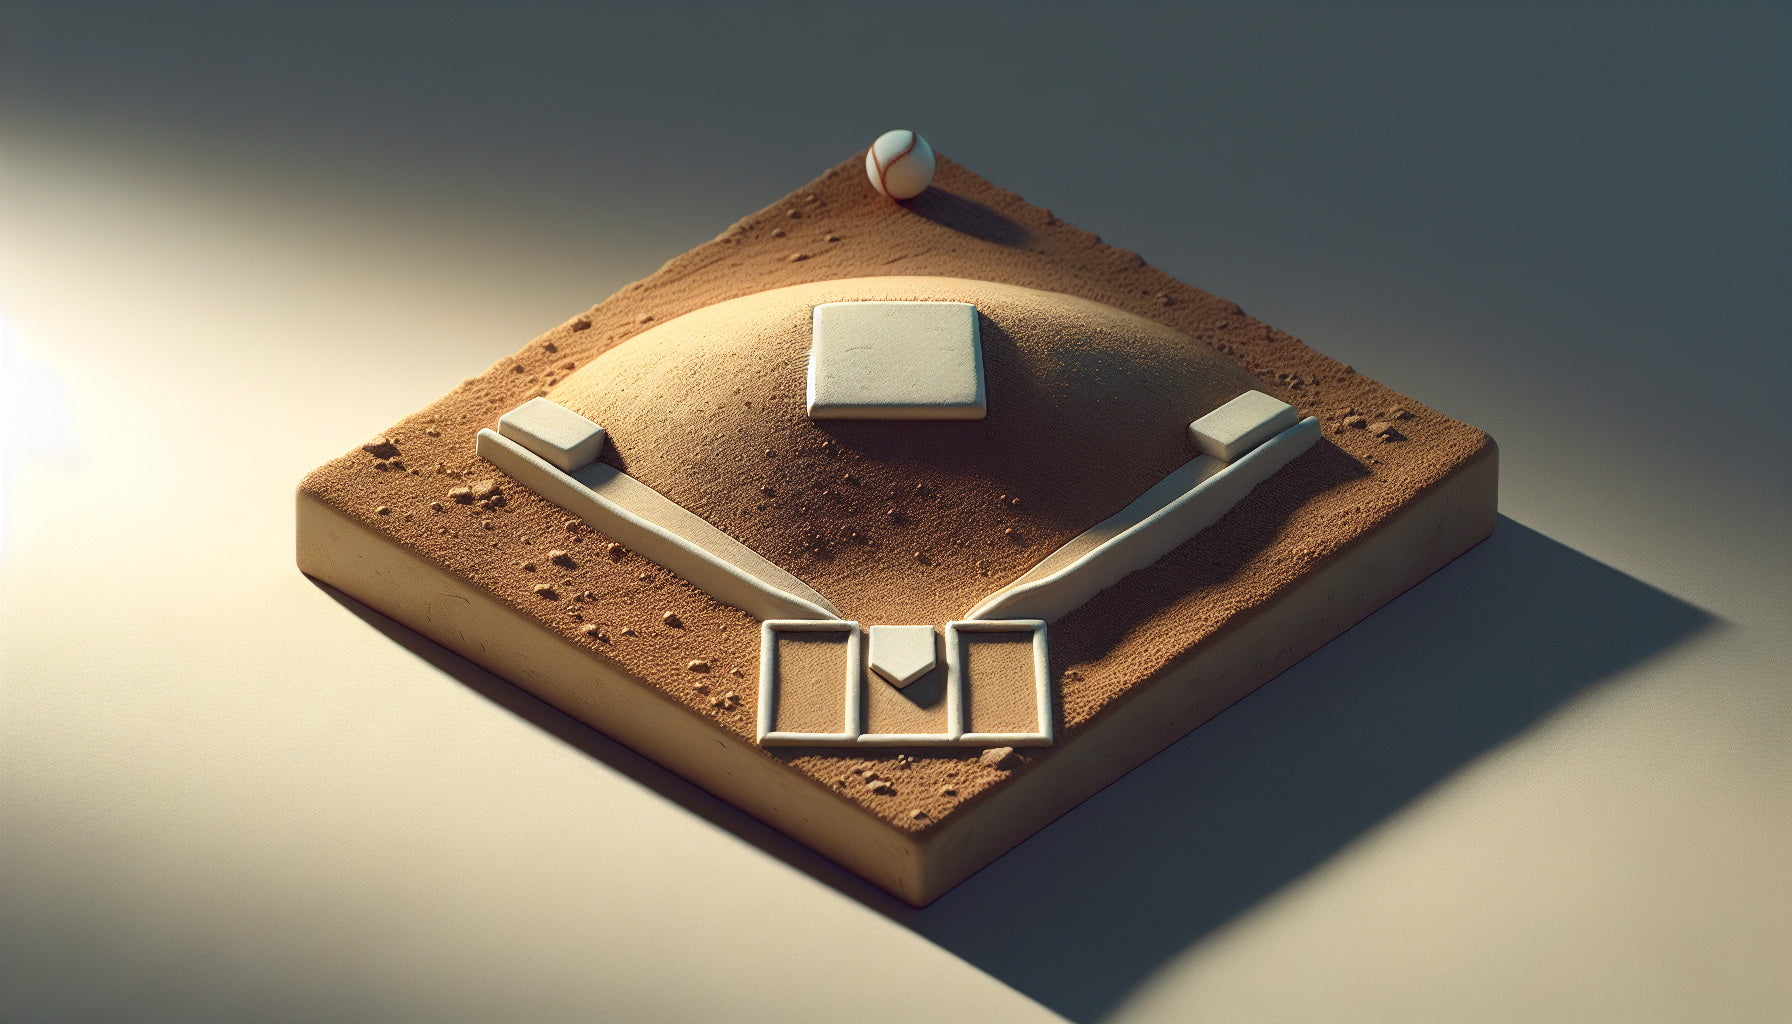
In the sport of baseball, the pitcher’s mound is a crucial zone where much of the game’s action takes place. It isn’t simply an arbitrary accumulation of soil. It represents a carefully crafted element on the playing field that has significant effects on gameplay and player welfare. For Little League play, this feature typically includes a pitching rubber placed 46 feet away from home plate with its peak elevated by 6 inches above ground level and surrounded by a circle measuring 10 feet across in diameter. The size specifications for these fields can be adjusted based on different age groups to accommodate evolving skill sets while prioritizing participant protection.
Adherence to these precise measurements goes beyond mere compliance with regulations. It preserves the essence and fairness of baseball while safeguarding young participants engaged in Little League activities. If you're trying to build a pitching mound that is not a little league mound, check out this article.
Setting the Right Pitching Distance
The distance from the pitching rubber to home plate is a vital element that changes according to the age and level of play within Little League. In divisions at or below Major, typically composed of players 12 years old or younger, it’s imperative for the rubber to be positioned 46 feet away from home plate. As young athletes progress into higher tiers like minor, junior, and senior leagues, this distance extends in response to their enhanced abilities and physical development.
It’s imperative that this distance is measured accurately using a tape measure because even minimal variations can have significant implications on gameplay quality as well as the safety of those who take on the role of pitcher.
Determining Mound Height and Diameter
Constructing a mound that aligns with the appropriate height and diameter specifications is critical for an authentic Little League atmosphere. The elevation of the mound should stand at 6 inches to furnish the pitcher with adequate lift while minimizing hazard potential. Maintaining a standard 10-foot diameter for divisions such as tee ball, coach pitch, and machine pitch is crucial in providing a mound area that matches player capabilities and movement range.
As you form your league’s pitching platform, bear in mind these dimensions are more than mere statistics. They constitute the bedrock of equitable competition and safety during play.
Selecting Your Mound Location

If the baseball field has not been laid out yet, selecting the correct orientation is important. Prior to the commencement of any excavation, careful deliberation must be undertaken in selecting the precise location for the pitcher’s mound. This decision transcends merely scouting a flat area. It entails fashioning an environment that not only promotes home field advantage but also ensures safety and utility. Optimal selection requires a uniformly level section with sufficient clearance to accommodate your child’s league-specific pitcher’s mound dimensions—a virtual blank slate where burgeoning talents can flourish. This spot should provide ample space for installing an outfield fence according to age group standards and local major league regulations.
This endeavor extends beyond simply establishing a venue for play—it involves sculpting an exclusive training ground that reflects the earnestness akin to that of major league environs.
Ensuring Proper Orientation
Orienting the pitcher’s mound correctly is crucial as it can impact a game by either helping or hindering the pitcher due to sunlight. To lessen sun-related distractions, setting up the pitching plate so that it runs east northeast helps avoid glare and allows pitchers to concentrate on delivering their pitch rather than battling bright light. It’s beneficial for pitchers to practice running toward east-northeast during warm-up exercises in order to become accustomed to this advantageous position.
This deliberate positioning aids not only those on the mound but also batters at home plate who benefit from an unobstructed view of incoming pitches. Keep in mind that a pitcher with clear visibility is more likely poised for peak performance on every throw they make.
Preparing the Groundwork
Once you’ve determined the location, get ready for some hands-on preparation of the base. This phase involves careful measuring and outlining, followed by stripping away the grass to establish a durable foundation that can withstand numerous pitches and games over time. The work involved here isn’t merely excavation, but rather constructing a steadfast foundation.
The act of extracting turf from within your predefined boundaries is essential in laying down the groundwork for subsequent construction phases. Following this step comes the installation of landscape fabric and smoothing out any irregularities in ground level—a crucial process in shaping your mound—ultimately leading up to adding layers of pitching mound clay and dirt which will collectively compose your pitcher’s elevated station.
Removing Turf and Debris
To initiate the preparation of your mound, begin by eliminating any turf and debris to make way for it. Proceed as follows:
-
Employ spray paint to demarcate the precise measurements of your pitching mound space.
-
Utilize a spade or edger to excavate the grass within these marked limits.
-
Executing this task will forge a definitive edge that delineates the borders of your mound area, guaranteeing that you begin constructing on an unblemished base.
After you have stripped away the turf, ensure that you even out the surface in anticipation of laying down the essential foundation composed of clay bricks.
Leveling the Ground
A level mound is a safe mound. Using a mound slope gauge, you can ensure the ground has the correct slope and fill in any low spots or holes. The slope board is an essential tool for achieving the level base required for a Little League pitching mound, ensuring that the mound’s slope is consistent and safe for pitchers.
With the board, you can measure an accurate slope of one inch per foot, crucial for the mound’s correct angle. Once you’ve achieved the right slope, fill any low spots and holes to complete the leveling process. This sets the stage for a mound that pitchers can trust.
Constructing the Foundation
Building from the ground up, constructing the foundation of your Little League mound is about more than just piling on dirt. It’s about selecting the right materials—clean fill dirt with at least 50% clay content—for stability against erosion and instability. The foundation begins with a base layer of hard mound clay for the pitcher’s plateau and landing area, with regular infield mix clay for the mound’s sides and back. It’s a layered process, with each tier of mound clay compacted firmly until you reach the desired height.
Before laying the foundation materials, ensure the ground is shaped properly by removing grass, setting elevations, and preparing for the installation of pitching mound clay bricks.
Laying Landscape Fabric
Begin the construction of a durable mound by laying down landscape fabric on the leveled ground. This material serves as a defense against weed invasion, helping to preserve both the cleanliness and stability of your mound’s underlying surface. It provides not only resistance to weeds, but also reinforces the foundation essential for building a robust mound.
To ensure that this base remains undisturbed, anchor the landscape fabric firmly using staples designed for landscapes. This step guarantees that your mound rests on an unwavering foundation.
Creating the Sub-Base with Dirt and Clay
Creating a robust foundation for your pitcher’s mound is crucial. To establish this stable base, blend the existing soil with soil rich in clay content along with specialty packing clay designed specifically for mounds. This fusion of earth and clay delivers not only firmness but also stability essential to every pitch thrown from the mound.
Modify the composition of your infield mix by incorporating additional sand or clay to alter its density and texture. This adjustment allows you to customize the mound’s grip characteristics according to your preferences, ensuring optimal performance conditions.
Constructing the Plateau Surface
To construct an ideal pitcher’s plateau, meticulous attention to detail and a measured approach are essential. The following steps should be adhered to:
-
Prepare the Plateau: The pitcher's mound should gradually slope up to a stable and flat plateau that provides a secure area for pitching. Ensure the plateau is even with the top of the pitching rubber and measures 5 feet by 3 feet.
-
Set Up the Plateau Frame: Place a frame made from 2-inch by 6-inch boards on the pitcher's mound according to the specified layout. The internal dimensions of this frame should be 5 feet by 3 feet.
-
Measure and Mark: Accurately position the inside of the frame 6 inches in front of the pitching rubber, 24 inches behind it, and 18 inches to each side. Use a nail to mark the perimeter of the frame on the mound's clay. Remove the frame after tracing.
-
Excavate the Soil: Use a pick to loosen and remove the soil inside the marked area to the required depth. Adjust the depth based on player level—4 inches thick for younger players and 6 inches for high school, college, and professional players.
-
Prepare the Base: Scarify the soil at the base of the excavated area to promote bonding between the new and existing soils. Use a square-faced shovel or spade to loosen the edges of the outlined area.
-
Recheck the Frame Placement: Replace the frame in the outlined area to verify the dimensions are accurate.
-
Add Mound Clay: Once the frame is properly aligned, fill it with pitching mound clay or MoundMaster Blocks to secure the mound's structure.
When building up the mound, it should gently incline toward the plateau. During this phase, employ a plateau frame for reliable measurement precision in order to secure accuracy throughout construction of your pitching platform.
Positioning the Pitching Rubber
The mound’s central feature is the pitching rubber, and its precise installation is crucial.
For installing a fresh pitching rubber:
-
Step 1: Establish the Center Line - Attach a string at the apex of home plate and extend it straight to the second base peg to define the center line of the field.
-
Step 2: Position the Pitcher's Rubber - From the apex of home plate, measure out exactly 46 feet and place a spike. This marks the position where the front of the pitcher's rubber will be located.
-
Step 3: Adjust Mound Height - Use a transit level to take a reading from home plate. The top of the pitching rubber should be 6 inches higher than home plate. Adjust the mound height accordingly by adding or removing soil.
-
Step 4: Align the Pitcher's Rubber - To square the pitcher's rubber, measure the distance from the front left corner of home plate to the front left corner of the pitcher's rubber. Repeat the measurement on the right side. Adjust the rubber until both distances are equal, ensuring the rubber is perfectly square.
-
Step 5: Secure the Rubber - For additional stability, especially when constructing a new mound, consider placing a solid concrete block beneath the rubber to prevent shifting. Fill the hollow tube in a 4-way rubber with dirt to enhance stability.
Building the Mound Slope
The gradient of the mound slope isn’t just an arbitrary descent. It plays an important role in safeguarding pitchers as they initiate their pitch delivery. Maintaining a consistent and gradual decline from the top surface, or plateau, of the mound to its perimeter is essential for minimizing injury risks and promoting pitcher safety.
For little league play, this translates to a standard ratio of one inch drop per foot length on the mound’s incline. This ensures that as pitchers make their way from stance to follow-through, they experience minimal strain due to smooth transition facilitated by high-quality soil with abundant clay content—and specifically using specialty packing clays at crucial areas like where pitchers push off and land.
To establish this critical angle accurately along both lateral sides and rear end of the pitching area’s elevation change, employing a slope board—a type of wooden plank—acts as an indispensable reference tool during construction.
Here's how to do it the right way:
-
Step 1: Outline the Landing Area - Use a large nail or spike to trace the landing area, starting from the front corners of the plateau and extending outward toward the turf.
-
Step 2: Loosen the Soil - With a pick, agitate the existing soil to enhance the bonding with the mound building soil. Break up any large clumps using a square-faced shovel or clear them with a rake.
-
Step 3: Set Up the Alignment Boards - Place a four-foot-long 1" x 4" board on top of the rubber, extending it to the right edge of the plateau. Ensure the board runs parallel to the rubber with the four-inch side resting on the surface.
-
Step 4: Position the Second Board - Lay a ten-foot-long 2" x 4" board along the right side of the landing area. The top of this board should meet the four-foot 1" x 4" board, and the bottom should rest at the mound's base near the edge of the turf, positioned on its side to utilize the two-inch thickness.
-
Step 5: Distribute Mound Clay - Transport a wheelbarrow of mound clay and unload it to the left of the ten-foot 2" x 4" board. Spread the clay along the length of the board, removing any excessive buildup to prevent the board from becoming too heavy.
-
Step 6: Smooth the Clay - With one person managing the top near the pitcher's rubber and another at the base of the mound, begin a controlled sawing motion with the ten-foot board, sliding it over the four-foot board to avoid damaging the plateau's edges.
-
Step 7: Adjust the Surface - Continue the sawing movement in a clockwise direction to the opposite side of the landing area. If you encounter any low spots, adjust the board to the right of the low spot, add more mound clay, and resume the sawing motion.
-
Step 8: Measure and Adjust Slope - Use a mound slope board to ensure the mound has an accurate slope.
-
Step 9: Firm the Landing Area - Once the landing area is shaped, use aggressive tamping to solidify this section of the mound.
-
Step 10: Apply Final Mound Materials - Add MoundMaster Blocks or Turface Professional Mound Clay to areas of high wear, as recommended in maintenance guidelines for home plate replacement and pitcher’s mound maintenance.
Layering and Tamping the Slope
Constructing the slope of a mound requires careful attention to solidity and accuracy. One should apply pitching mound clay in layers, one inch thick, shaping the incline with precision tools like boards. It’s critical to compact or roll each layer after application to reinforce stability.
In areas subjected to heavy use, employing materials such as pitching mound blocks are recommended for extended mound longevity. These supports help preserve a uniform and sturdy landing zone while the clay content within the mound assists in achieving adequate grip and maintaining the robustness of the slope.
Finishing Touches for a Professional Look
The mound is nearing readiness for play, yet it’s the final details that give a polished, professional quality. Top the mound with a 1/8 inch layer of infield conditioner, giving it that reddish look that all pitching mounds have.
Regular Maintenance for Longevity
Maintaining the integrity of a mound requires consistent care. Doing regular maintenance is crucial for ensuring both the safety of players and extending the life span of the mound, thus avoiding expensive overhauls or fixes.
It’s important to shield the mound with a pitching mound tarp when it’s not in use to prevent drying and cracking to safeguard it against weather elements like rain, wind, and sunlight. This precaution helps preserve a secure and playable surface for each match.
Repairing Wear and Tear
Regular maintenance of the pitcher’s mound is critical, as it can suffer from wear and tear similar to any heavily utilized sports gear. It’s essential to vigilantly inspect for signs of deterioration such as holes or low spots. These holes are usually found in high usage areas like in front of the pitching rubber and on the mound slope wehre the pitcher's front foot lands. Ensuring that repairs are made swiftly after each game or upon concluding activities for the day is vital in keeping a safe and uniform playing field.
For leveling out inconsistencies on the mound, employ high-quality fill dirt obtained from a trusted provider. To restore areas that have been worn down and uphold both safety and integrity of the mound, use specific clay designed for mounds or home plate areas.
Summary
Choosing an ideal spot is just the beginning when constructing a Little League pitching mound. Meticulous attention to detail and regular upkeep are essential for its longevity. This guide has equipped you with knowledge on creating a mound that not only adheres to Little League standards but also ensures a secure, polished area for budding pitchers to hone their abilities. It’s now time for you to apply these suggestions, breathe life into your project, and observe as your very own mound turns into the central feature of numerous matches and cherished memories.
Frequently Asked Questions
What are the standard dimensions for a Little League pitching mound?
In Little League, particularly in the Major division and below, the pitching mound features a rubber located 46 feet away from home plate. This mound is elevated at a height of 6 inches and encompasses a pitcher’s circle with a diameter spanning 12 feet.
How do I ensure the pitching mound is properly oriented?
Position the mound for pitching east-northeast to reduce sun disruption and ensure optimal visibility for both pitcher and batter.
What materials are needed for constructing the mound's foundation?
For the foundation construction of the mound, it is essential to utilize clean fill dirt that contains a minimum of 50% clay content, complemented by a mixture of hard clay and standard infield mix clay.
How often should the pitcher's mound be maintained?
Regular maintenance of the pitcher’s mound is crucial for preserving a stable and secure surface for play. To manage moisture levels, it should be watered before games, protected with a tarp while not in use, and promptly repaired after any damage from usage to maintain its condition.
What is the slope ratio for a Little League pitching mound?
In a Little League, the pitching mound features a consistent slope declining from the center towards its periphery at a rate of one inch for every foot.