 Contact Us
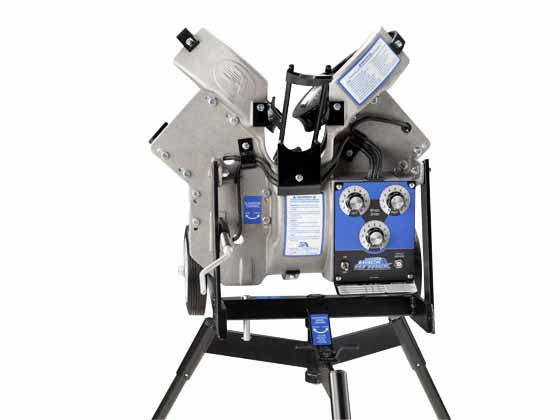
Batting cages are a staple in baseball and softball. They help prepare players for success by improving key skills such as hitting, pitching, throwing, and catching. They also help prevent balls from flying into houses, cars, and your neighbor's window.
As a parent or coach of a little leaguer, you know just how quickly expenses can start to add up. Finding the extra money for a home batting cage may be tough between the gear, the supplies, and traveling back and forth from practice and games. This is why we will teach you how to design your own home batting cage on a budget.
Building your own homemade batting cage will not only be cheaper than buying one, but it will also save you significant money in the long run. This is especially true considering the countless hours you would spend renting a batting cage at a training facility, which can cost up to $45 per hour!
Factors to Consider Before Building a Backyard Batting Cage
You’ll need to consider a few things when choosing a batting cage for your child or Little League slugger. This includes:
-
Type of batting cage
-
The space and measurements
-
Your budget
-
Electrical Availability
-
Ground slope level
-
Maintenance
With all these factors in play, it can feel overwhelming, especially if you're not familiar with the components of a batting cage. We've broken them down to help you make an informed decision. Kickstart your project by browsing our exclusive backyard batting cages featuring top-rated equipment perfect for your DIY setup.
What Are The Different Types of Batting Cages?
There are several types of batting cages, each with a use cases.,
Indoor batting cages:
Indoor batting cages allow year-round training, regardless of the weather. They are found in sports facilities, garages, or basements and often feature turf flooring and suspended netting.
Pros:
-
Usable in all weather conditions
-
Controlled environment with lighting and ventilation
-
Protects surroundings from damage
-
Reduces external distractions
Cons:
-
Requires significant indoor space
-
Higher initial setup costs
-
May need additional padding or flooring for safety
Best Use Cases:
-
Training centers, schools, and private home gyms
-
Players need consistent practice without weather interruptions
Outdoor batting cages:
Outdoor batting cages provide a natural training environment with more airflow and space. They can be freestanding or permanently installed with poles and netting secured to the ground. These cages allow for full-power swings and natural light.
Pros:
-
More space for unrestricted movements
-
Lower setup costs compared to indoor cages
-
Natural airflow and lighting reduce additional expenses
-
Simulates real game conditions
Cons:
-
Can be affected by weather conditions
-
Requires regular maintenance to ensure net durability
-
Less controlled environment compared to indoor setups
Best Use Cases:
-
Backyards, schools, and sports facilities
Permanent (or in-ground) batting cages:
Permanent batting cages are built into the ground using durable metal or wood frames with reinforced netting. They are more durable and last longer than portable batting cages.
Pros:
-
Extremely durable and stable
-
Customizable in terms of size and materials
-
Ideal for high-frequency training
-
Requires minimal repositioning or adjustments over time
Cons:
-
Expensive and time-consuming to install
-
Cannot be relocated once built
-
Requires proper drainage and foundation preparation
Best Use Cases:
-
Schools, training centers, and dedicated athletes
-
Facilities with long-term training programs
Portable (or free-standing) batting cages
Portable batting cages are lightweight, easy to assemble (& disassemble), and perfect for flexible training. They usually have flexible frames with collapsible lock mechanisms and sturdy netting.
Pros:
-
Quick assembly and easy relocation
-
More affordable than permanent structures
-
Can be set up indoors or outdoors
-
Ideal for teams that travel frequently
Cons:
-
Less durable than permanent options
-
Can be unstable in strong winds without proper anchoring
-
Typically smaller than permanent alternatives
Best Use Cases:
-
Home backyards, recreational fields, and travel teams
-
Temporary practice setups or rental spaces
Retractable batting cages
Retractable cages use a pulley or winch system to collapse and store the netting when not in use.
Pros:
-
Saves space when not in use
-
Ideal for shared-use facilities
-
Easy to operate with mechanical systems
-
Provides flexibility for multi-sport environments
Cons:
-
Higher upfront cost due to advanced mechanisms
-
Requires professional installation for smooth operation
-
It needs regular maintenance to keep the retraction system functional
Best Use Cases:
-
Multi-purpose sports facilities and gyms
-
Indoor training centers with limited space
DIY batting cages
DIY batting cages allow players to build custom setups using PVC pipes, wood, or metal frames with store-bought netting. This option is great for those looking for a budget-friendly and flexible solution.
Pros:
-
Customizable based on available space and needs
-
More cost-effective than pre-built cages
-
Allows for creative modifications and upgrades
-
Can be expanded or adjusted as needed
Cons:
-
Requires time and effort to construct
-
It may lack the durability of commercial batting cages
-
Needs careful planning to ensure stability and safety
Best Use Cases:
-
Home training setups with budget constraints
-
Players looking for a cost-effective yet functional practice space
How Much Space Will I Need?
The required space for a home batting cage is ultimately up to you.
Since batting cages can provide practical training in a variety of sizes, the choice will mainly depend on the amount of space you have available and are willing to use.
However, it goes without saying that before you begin designing and constructing a batting cage, ensure ample space for the structure.
Take precise measurements of the designated area in your yard where you intend to place the batting cage. This will help you determine the cage's exact length, width, and height. It will also be easier to select the correct materials and modify them to meet the required specifications rather than purchasing too many or insufficient supplies.
DIY Batting Cage Dimensions
Now that you have the space measurements all mapped out, the next step is to determine the size of your cage.
Length
You may be hesitant to commit to a full-size batting cage due to the space required, which is completely understandable. However, 70 feet is optimal for a DIY batting cage to fully measure a batter's performance. A 70-foot batting cage provides enough room for the pitcher, pitching machine and batter to be at an accurate distance apart.
If a 70-foot-long cage isn't an option for you, don't fret! Even a length of as little as 20 feet will give players ample opportunity to improve their skills. Shorter cages are more affordable and save time when setting up and tearing down.
Below are batting cage length recommendations for all levels of players:
-
T-ball: 38' to 44'
-
Little League: 48' to 55'
-
High School: 60' and up
-
College: 70' and up
For a family-friendly design, shop our dedicated batting cages for kids collection that ensures safe and engaging play for young athletes.
Width
12 to 14 feet is the standard batting cage width across all levels. A 12-foot batting cage tunnel width is sufficient for younger and developing players, while more advanced players are better suited to a wider 14-foot tunnel.
Height
A 12-foot ceiling allows most players to trackball the velocity of their hits accurately. If 12 feet is more than you can provide, an 8-foot tunnel height will work just fine.
It's important to allot enough room for netting overflow to help contain balls within the cage. This overflow should be approximately one foot of extra netting to sag on the ground around the perimeter of the frame, like this:

What Materials and Tools Will I Need?
The greatest advantage of building a DIY backyard batting cage over buying an already manufactured one or even a batting cage assembly kit is the ability to customize it in any way, shape, or form you want. Luckily, there are plenty of options available on the market to design the perfect DIY home batting cage:
-
Batting cage net (high-density polyethylene or nylon)
-
PVC pipe or steel rods for the frame
-
Concrete for anchoring the frames
-
Connectors and corner fittings such as eye bolts, brackets, PVC elbows
-
Anchor materials like ground stakes, concrete, or weighted sandbags
-
Batting mat (optional)
-
L-screens or pitching screens (optional)
Once you have your materials, gather these tools to make the construction process smoother:
-
Measuring tape and speed square
-
Hacksaw, jigsaw, or circular saw for cutting
-
Driller
-
Ladder
-
Rubber mallet or hammer
-
Wrench
Prepare your young slugger for competitive play by reading our expert advice on preparing your child for travel ball to boost confidence and performance.
Your Budget
Batting cages are available at various prices, from DIY kits to high-end, professional-grade cages. Your budget will largely dictate the materials you choose for the frame and netting.
For example, steel frames with nylon netting are more expensive but offer the best durability. PVC frames are more affordable but may not last as long.
It's important to balance quality and cost to find a solution that suits your needs and budget.
Neighbors
Think about how the cage might impact your neighbors. Batting cages can be noisy, especially when using high-speed pitching machines. If possible, place the cage in a more private or secluded area of your yard, far from shared fences or areas where noise may be disruptive.
You can minimize the noise of balls hitting the netting using thicker, double-layered netting or installing padding inside the cage. A thicker netting coupled with padding will help absorb some impact sounds to reduce the noise.
Electrical Availability for Pitching Machines
If you plan to use an electric pitching machine, check whether you have easy access to an electrical outlet near your batting cage area. If you don’t have access to an electrical outlet near your batting cage, invest in a battery-powered pitching machine or an extension cord.
Manual or gravity-fed pitching machines can be a good alternative if you don't have access to electricity. These options are often more affordable and require less maintenance than electric machines.
Maintenance
Regularly check your frame and netting for any signs of wear and tear. Metal frames should be inspected for rust, while PVC frames may crack or bend over time. Also, check your netting for fraying or holes, because you may need to replace sections of the netting if it gets damaged.
If your cage is set up outdoors for long periods, ensure its materials are UV-resistant. Nylon and polyethylene netting generally offer good UV resistance, but metal frames may need weatherproofing treatments to prevent rust or corrosion.
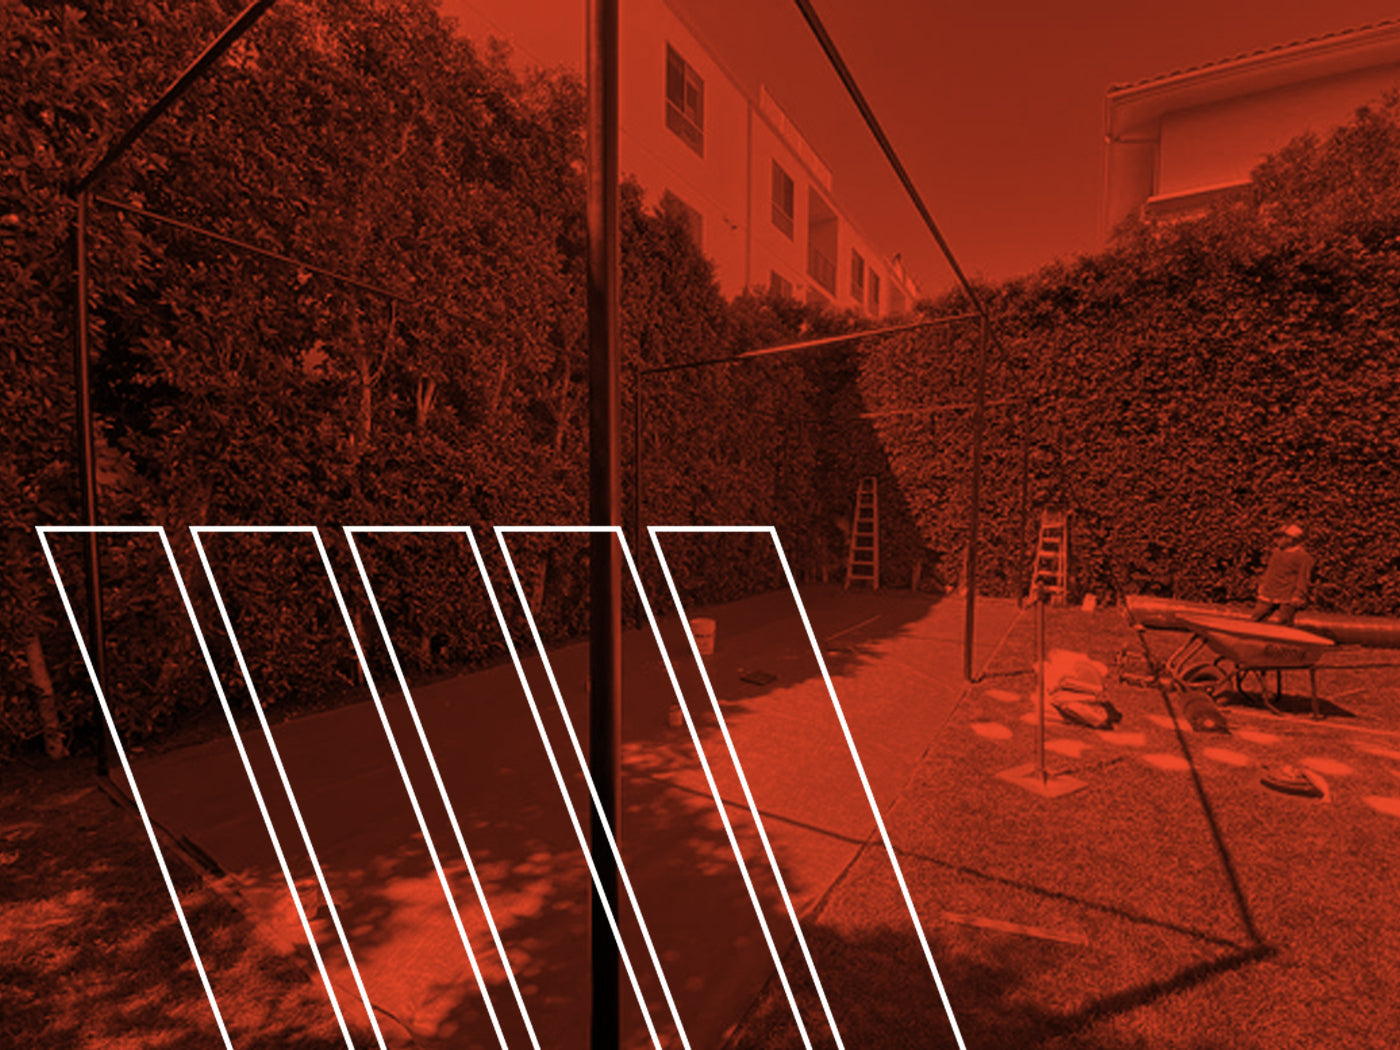
Constructing the Batting Cage Frame
The most important variable to consider when choosing the primary material used in the frame's construction is whether you aim to build a permanent or a temporary batting cage. There are three most common types of material used for a batting cage frame:
-
Fiberglass,
-
Fiberglass with steel rods and
-
Full steel.
Though each type has advantages and disadvantages, they are all great options you can confidently depend on. Get inspired by creative layouts and expert tips with our backyard batting cage ideas to design your perfect play area.
Fiberglass
Fiberglass is the perfect option for those on a tighter budget. It is more affordable than its alternatives and extremely popular due to its low cost, especially among batting cage manufacturers.
Pros:
-
Its lightweight composition allows for greater portability
-
Easy to assemble and disassemble
-
It's best for younger players who are still developing their skills or hitting hard balls.
Cons:
-
The impact of hard-hit balls may shatter the fiberglass rods or poles
-
Exposure to harsh weather conditions, such as extreme temperatures and high winds, can weaken fiberglass structures over time
-
While fiberglass is generally strong, it may not withstand the rigors of frequent use as effectively as steel frames
Fiberglass with Steel Rods
Reinforcing a fiberglass frame with steel rods is a great way to increase your cage's quality and durability while decreasing cost. The rods (which are the upright poles supporting the cage) are made from steel, while the frame surrounding the ceiling of the cage provides a discounted price compared to a full steel frame construction.
Pros:
-
The combination creates a robust structure that resists wear and tear
-
The Fibreglass component makes it lighter
-
Easy to set up and take down
Cons:
-
While both materials are durable, they still require regular inspections to prevent issues like rusting of the steel or cracking of the fiberglass.
-
Over time, both fiberglass and steel components may experience wear and tear.
Full Steel
If you want to build a permanent home batting cage that's super sturdy, a full steel frame construction is the way to go. It's one of the most durable methods for designing a batting cage facility in your home.
Pros:
-
They keep the structure sturdy when faced with harsh weather
-
They hold strong against direct impact from hard-hit balls.
-
With proper maintenance, steel frames can last many years
Cons:
-
Steel frames are generally more expensive than alternatives like fiberglass
-
The assembly of steel frames may require more time and expertise
-
If not properly treated or maintained, steel can be susceptible to rust and corrosion
DIY Batting Cage with PVC Piping & Wood
Designing your frame with PVC piping or wood is the cheapest option for your home batting cage. PVC piping and wood are popular across many DIY projects since they can be assembled with minimal effort and will save you significant money upfront.
Pros:
-
Both PVC and wood are durable
-
They're easy to install and use
-
They have a low price point
Cons:
-
Substituting for PVC pipe or wood will ultimately decrease the lifespan of your cage as they're less durable and will corrode quicker against the elements.
-
While PVC pipes are light, wood is quite heavy, and you'll need an extra hand to transport your batting cage.
Barrier & Containment Nets
Barrier or containment nets are commonly used for training across various sports. They have four walls and a ceiling and drape over the top of your frame, leaving about two feet of extra netting to sag on the ground around the cage perimeter. As its name implies, this net style creates a barrier containing balls so they don't threaten nearby buildings, cars, or other objects.
We highly recommend using heavy-duty, durable netting, like the Anytime Baseball Supply HDPE Batting cage net. This net lasts through years of moderate to heavy use and will undoubtedly be worth the premium!

Let's get to the fun part!
How To Create A DIY Backyard Cage (Step By Step Guide)
Designing your batting cage doesn't have to be difficult, but it does have to be accurate. Simply put, you need to measure out the specifications of your space, clear out any dirt or grass, gather the correct materials before putting the cage together.
Step 1: Measure Out Your Space
First, decide whether you want a permanent or portable batting cage. Then, designate an area in your yard and the space you're willing to provide for it.
Take detailed measurements of the length, width, and height that the intended size of your cage will require and record them (Length x Width x Height). Place markers at each of the four corner post locations. Draw a circle around each marker to outline where you'll dig, and leave enough room for a two-foot deep hole.
Note: When calculating the height of the cage, account for the extra two feet you'll need to set your posts into the ground. For example, a 12' cage will require 14' tall posts.
Step 2: Gathering the Supplies
Once you have your measurements, it's time for the fun part: gathering all of the supplies! Depending on which materials you use for your frame, you may need different tools or supplies.
Overall, here is a list of the basic supplies you will need for building your batting cage:
-
4-6 sturdy posts [3”-4” width x 13'-15' length]
- Fortress Ultimate Bating Cage Poles
- Batting Cage Frame Kit EZ UP Frame Kit
-
4 bags of cement
-
4 stakes for marking posts
-
Shovel or auger to dig holes
- Bushcraft Survival 1 Inch Scotch Eye Auger
- Auger Drill Bit for Planting 1.6x16.5inch Extended Length
- Fiskars 397900-1001 Pro Shovel
-
Wheelbarrow to mix cement
- Gorilla Carts Heavy-Duty Poly Yard Dump Cart
- John Deere Farm Toys Steel Wheelbarrow
-
Connectors for posts [screws, anchor bolts, etc.]
- Grip Rite Prime Guard Galvanized Anchor Bolt with Nut
- Horiznext 1/2" x 3-3/4" Wedge Anchor
- Hard-to-Find Fastener Anchor Bolts
-
Heavy Duty Netting based on required dimensions [nylon or polyethylene]
- Net World Sports Baseball Batting Cage HDPP #42 Nets
- LFS Sport Netting #42 HDPE Batting Cage
- 12 x 12 x 35 Baseball Batting Cage - #42
- 10' x 10' x 55' Baseball Batting Cage Net - #42
- Jugs Batting Cage Nets #42 Polyethylene
- Cimarron #42 Twisted Poly Batting Cage Net Only
- ProCage™ #42 HDPE Batting Tunnel Net Only
-
Eye bolts & clips for netting
-
Astroturf to lay as flooring (optional)
- Megagrass Premium Synthetic Turf for Sports
- IncStores Agility Turf Rolls - 12ft Wide Indoor Artificial Sports Turf
- New Artificial Grass Sports Turf
-
Pitching machine (optional)
- Spinball 3-Wheel Pitching Machine
- Heater Sports Deuce 95 Pitching Machine
-
L screen (optional)
- Cimarron Residential L Screen
- Padded L-Screen for Baseball - 7' x 7'
-
Home plate (optional)
- BSN Rubber Home Plate
- Franklin Sports Rubber Home Plate for Baseball or Softball
Step 3: Prepare the Site for Your Construction
Before construction begins, prepare the site to ensure a stable and level foundation. Start by clearing the area of any debris, rocks, or vegetation. This step prevents interference during construction and ensures safety during use.
Other tips are:
-
Use a level to check the ground's evenness. If the area is uneven, consider using a shovel to fill in low spots and compact the soil to create a flat surface.
-
Use stakes and string to outline the dimensions of the batting cage as per your design.
-
Ensure the area is free from overhead wires, tree branches, or other hazards that pose risks during construction or use.
Step 4: Putting the Batting Cage Together
With the site prepared, proceed to build the frame. Using your chosen frame material, measure and cut the components according to your design specifications.
|
Material |
Tool |
|
PVC |
Hacksaw |
|
Metal conduit |
Pipe cutter/hacksaw |
|
Wood |
Circular saw or jigsaw |
Ensure all cuts are straight and accurate to facilitate proper assembly. It's advisable to measure twice and cut once to avoid errors that could compromise the frame's integrity.
Next, construct the basic rectangular structure of the batting cage. Connect the side poles to the crossbars using the eye bolts. Have each eye bolt face across from its corresponding post; one across the length of the cage and the width. Be sure all joints are tight, and the frame is square. This alignment is crucial for the overall stability of the structure and success of your batting cage.
Step 5: Attack the Frame to the Ground
Dig four two-inch-deep holes and set the posts in them. Then, mix your cement and pour it around each post. Let the posts set until the cement has completely hardened. For a portable setup, use ground stakes or auger anchors to secure the frame. During assembly, regularly check for levelness and squareness to ensure the frame is aligned correctly.
Step 6: Add your Netting
Once they are placed, drape your netting over and extend it evenly across all four cage walls. Allow 1'-2' of extra netting to sag on the ground around the perimeter of the cage. To do this:
-
Clip the netting to each eye bolt (we recommend using carabiners).
-
Avoid stretching the netting too tightly between the bolts so that hard-hit balls will not dangerously ricochet back at the batter.
-
If your design includes an entrance or opening, ensure it is properly secured to prevent balls from escaping.
-
Inspect the netting for gaps or weaknesses that allow balls to pass through.
Step 7: Add Accessories to Your Batting Cage
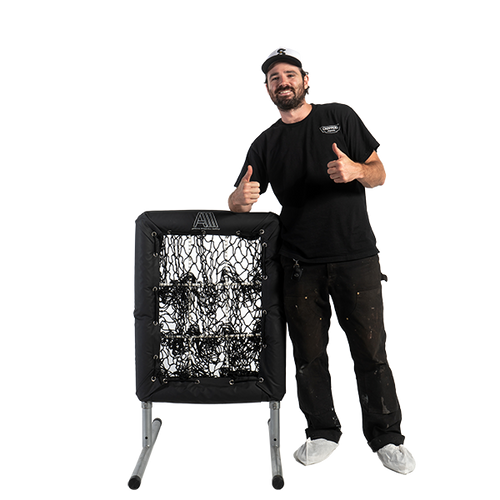
When you're done with your batting cage build, don't forget the accessories to complete your batting cage! Our favorite accessories are baseball hitting mats, batting cage pitching machines, and l-screens. And if you're feeling ambitious, consider building a pitching mound, too!
Conclusion: DIY Batting Cage vs. Buying One New
Depending on your budget and what you are specifically looking for, there are a couple of options that'll surely fit your needs. The easiest, though more expensive, route is to buy one. This ensures a well-made product with honest customer reviews, often backed by a warranty.
The alternative, more affordable option is to build your own batting cage. Each option provides many benefits, which we've outlined above. With this guide, you should be able to design and build your own DIY home batting cage.
Still feel overwhelmed? Call us at (888) 466-0009 or check out our collection of batting cages on sale!


1 comment
LTrinidad
Where can I baseball dirt for a mound? Or what’s kind of dirt would you recommend?
Where can I baseball dirt for a mound? Or what’s kind of dirt would you recommend?