 Contact Us

How to Keep Your Portable Pitching Mound in Tip Top Shape
Portable pitching mounds are a significant investment for any parent, coach, baseball team or facility. They provide a flexible and practical solution for pitching practice and for game use. However, like any sports equipment, they are subject to wear and tear, especially given the intense nature of pitching activities.
Maintaining your portable pitching mound is crucial to ensure its longevity and functionality. Regular maintenance not only keeps the mound in top condition but also ensures the safety of the players using it. This guide aims to provide comprehensive insights into the maintenance and repair of portable pitching mounds, covering everything from routine upkeep to more complex repairs.
What You Will Learn
We will explore various aspects of mound maintenance, including preventative care, minor repairs, turf replacement, and long-term upkeep strategies. Each section is designed to offer practical advice and step-by-step instructions to help you effectively manage your mound's maintenance needs. Let's take a look!
Preventative Maintenance
Preventative maintenance is key to extending the life of your portable pitching mound. Regular care can prevent the need for costly and time-consuming repairs. It's about being proactive rather than reactive; by consistently maintaining your mound, you're ensuring its longevity and usability.
Routine Checks - A regular inspection regimen is crucial. This should involve examining the mound for any signs of wear such as cracks, chips, or areas where the material has begun to erode or soften. Depending on the frequency of use, these checks should be done weekly, or even after each use if the mound sees heavy traffic. Pay special attention to the pitching area and the landing spot, as these are the most used and hence, the most prone to damage.
Maintenance Tips - To maintain your mound, keep it as dry as possible and store it in a covered, dry area to prevent moisture damage. If the mound is left outdoors, cover it with a waterproof tarp. Avoid dragging the mound across abrasive surfaces to prevent scratches or tears. Also, make sure to use the mound as intended - avoid unnecessary jumping or rough play on it. We strongly recommend against using steel spike cleats with your mound as it will surely damage the turf.
Protective Measures - To add an extra layer of protection, consider using mound covers when the mound is not in use, especially if stored outdoors.
Repair Techniques for Minor Wear
Minor wear typically presents itself as small cracks, slight erosion on the surface, or areas where the color has started to fade. It's important to address these issues promptly to prevent them from escalating into major repairs.
For minor cracks and surface erosion, start by cleaning the area thoroughly. Then, fill the cracks with a repair compound specifically designed for pitching mounds. Smooth it over with a trowel, ensuring it's level with the rest of the mound's surface. For color fading, a touch-up with the original color paint can make your mound look as good as new. Always allow adequate time for any repairs to dry or settle before using the mound again.
Repairing Damaged Turf Sections
Start by inspecting the turf for any visible signs of damage. Look for areas that are thinning, tearing, or showing excessive wear. Pay special attention to the pitcher's landing spot and the area around the pitching rubber, as these are high-impact zones. If you see the turf starting to tear apart, it is time to repair that section. Here's how:
Selecting the Right Repair Kit
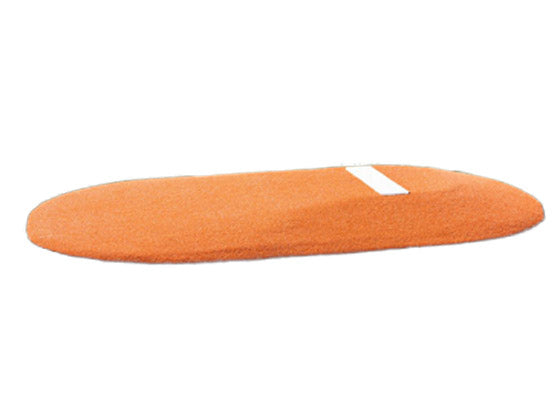
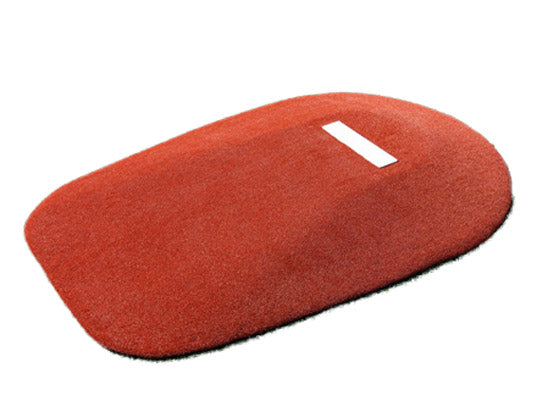
First we need to find the right pitching mound turf repair kit. Various turf repair kits are available on the market, specifically designed for portable pitching mounds. Some popular options include:
- Portolite Turf Repair Kit - 2' x 2'
- Portolite Turf Repair Kit - 2' x 4'
- Pitch Pro Turf Repair Kit
- Tru Pitch Turf Repair Kit
Each of these kits typically contains replacement AstroTurf, strong adhesive, and sometimes a replacement launch pad. Select a kit that matches the type of turf and dimensions of your mound.


Turf Replacement Process
-
Remove Damaged Turf: Carefully remove the damaged section of the turf. This might involve unscrewing or peeling back the turf if it’s glued down. Try using a sharp knife or exacto blade.
-
Prepare the Surface: Clean the exposed area to ensure it's free of debris and dust. This helps the new turf adhere properly.
-
Install New Turf: Cut the replacement turf to size, if necessary. Apply glue evenly on the back of the new turf and the mound surface. Place the turf carefully, ensuring it's aligned correctly. Press down firmly to secure it in place.
-
Allow for Proper Adhesion: Give enough time for the glue to dry completely. This might vary depending on the product, so refer to the instructions in your repair kit.
-
Reattach the Pitching Rubber: If the pitching rubber was removed during the repair, reattach it using the provided hardware, ensuring it's securely fastened and aligned correctly.
-
Inspect and Test: Once the repair is complete and the glue has dried, inspect the mound to ensure the turf is securely attached. It’s also advisable to gently test the repaired area for stability before full use.
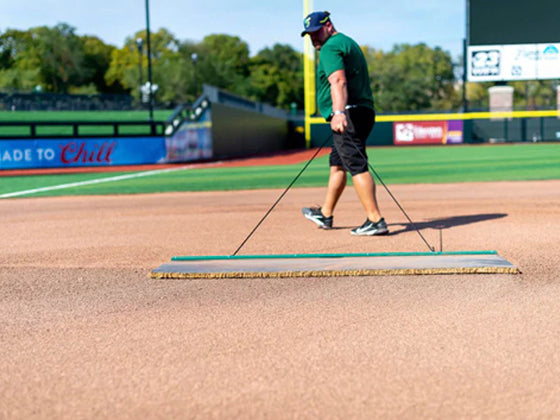
Turf Maintenance Tips
To prevent future turf damage, encourage pitchers to wear proper footwear and avoid unnecessary roughness on the mound. Regular inspections and immediate attention to minor wear can prevent larger, more complex repairs down the line.
Recap and Main Takeaways
- Store mound in dry place away from the rain and UV rays
- Regularly inspect turf and mound structure for tears and breaks
- Repair turf when necessary
- DO NOT use steel cleats with portable mounds, use plastic/rubber cleats only
- Setup on a level surface to avoid bending and distorting shape of mound
To learn more, be sure to check out our pitching mound buyer's guide and top 10 best pitching mounds list here.


2 comments
Ernie Casillas
same question who can do mound resurfacing or can i I just get size of turf i need to do myself.
Thanks Ernie Casillas
same question who can do mound resurfacing or can i I just get size of turf i need to do myself.
Thanks Ernie Casillas
Anthony Yarkowski
Hi
Do you know anyone who comes out and resurfaces the mounds? I don’t want to do it myself. We have 4 that need to be re done.
Thanks
Anthony
Hi
Do you know anyone who comes out and resurfaces the mounds? I don’t want to do it myself. We have 4 that need to be re done.
Thanks
Anthony